After starting from scratch, I decided to go with the approach of making my characters out of 2D images and then animating them in very much the same way I make animation on something like Flash.
I started off by doing some tests with the technique of animating textures in Cinema 4D.
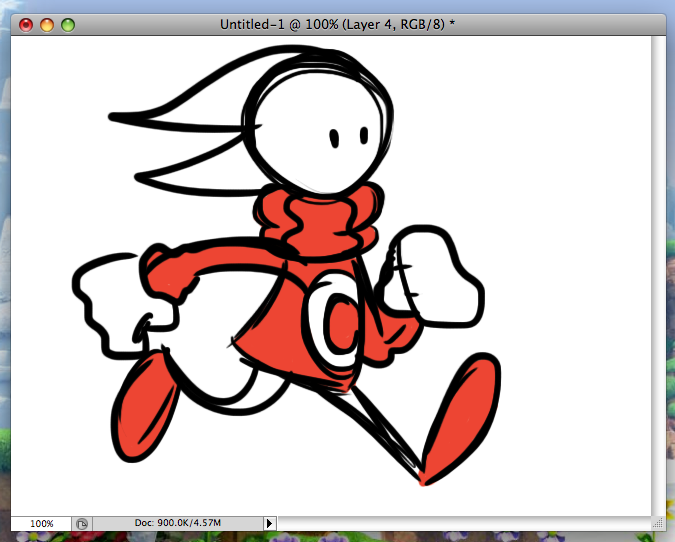
I drew a character in photoshop which a motion in sequence that I could use to create an animated texture in Cinema 4D.
I saved the image as a Jpg for the file size, because many different assets on the screen at once will increase the overall file size of the Cinema 4D document.
Since .jpg doesn't have a built-in Alpha channel like a .png file, I have to create the alpha channel myself as a separate jpg which can then be loaded into Cinema4D to define which areas of the texture are transparent and which are opaque.
In the case of these alpha channels, they are loaded into the transparency settings when you are creating the frame in Cinema4D, sometimes they have to be inverted to get the right effect
When loaded into Cinema4D, the different frames of animation are created as materials which can be dragged onto an object to create movement by using the object's own timeline within Cinema4D to swap out materials, this is very similar to creating key-frames in a 2D animation program.
The materials are then used within the object's timeline, to insert a keyframe you must click the red dot above before inserting a new material. When you are done, you should have an animating character.


No comments:
Post a Comment